
The motto of scanning a document is to store paperwork in digital form. Apart from it, there are many other reasons to do it. Document scanning makes it possible for you to keep a digital backup of a file, files can be accessed remotely so you would not require to carry them along with you. Moreover, a scanned document can also be sent immediately following the email.
Here, it needs to mention that scanning documents means you would not have to worry regarding the security risk posed by document lying around an office or being misplaced. It means they could be stored easily digitally. They can also be accessed by others who are supposed to access them.
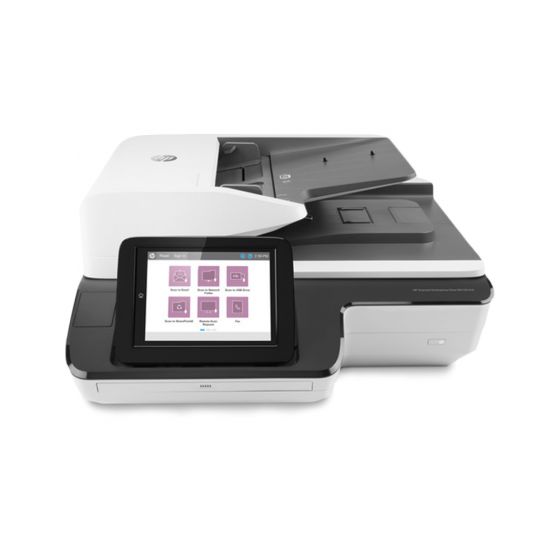
Have you been contemplating transferring information from any document or image to your system? If yes then you have landed in the right place. To put in simple words, a scanner is a device generally connected to a system. Its prominent function is to scan or to have a picture of the document or to digitize the needed information and make it get it done on the system screen.
How To Find Out A Scanner –
Switch On The Scanner – You need to press the power button of your scanner in order to make it started.
Do Place The Document On The Paper Feeder –
First, you need to take the document or picture you suppose to scan and do place it on the paper feeder. Some Scanner Online does also come up with a glass bed. You should lift the top cover and do place the document on the glass bed. Then, you need to close the top cover. What you need to remember is to place the paper which holds the information or the picture you are supposed to scan, facing down, i.e., your need to make the blank side of the paper to be faced up. Once you accomplished the document following the paper feeder, you would be noticing a message following on the display screen on the scanner which says Document Loaded.
Time To Scan The Document –
The next thing you need to do is to look for the “Scan” or “Start Scan” button on the Scanner Online. Here, it needs to mention that do press the button to kick off the scanning of your document. You would be noticing a message on the display screen on the scanner which says waiting for PC.
Do Kick Off The Scanning Program –
You need to press START coming under the category of ALL PROGRAMS while it will be in DEVICE and PRINTERS in Windows* 7. Now you need to choose the option of Scanner Name and Type too. Then you need to choose Scan. Then you will be having a dialog box popping up asking for what you would like to do. The next thing you need to do is to choose the appropriate options from the sent list. The next thing you need to do is to choose a SCAN.
Once Scanning is accomplished, you would be having a dialog box opens up mentioning if you would like to get yours another page to scanned. If you are supposed to say yes then you need to say YES to get your another document to be scanned. And if you do not need then you may click NO. If you are going with Windows*7 then you need to press IMPORT. You will be having a notice to scan the image automatically saved in your computer’s default picture library along with the current data in the form of Folder Name.
Do Save Your Scanned Document In The Form Of A File –
After the document of your scanning is done, you would be having an option of the “Save” dialog box. Do choose the location where you suppose to save the scanned document. If you have been using Windows*7 users, the scanned image will automatically get saved in your system’s picture library along with the current date in the form of a folder name. You need to type an appropriate file name so that you would not have to trouble while searching for a scanned document. Do choose an appropriate file type going with the given list. Then you need to click SAVE.
Print Preview and Print Your Scanned Document –
You need to open the scanned document in order to view it. Then you need to print your scanned document and do click FILE. The next thing is to click PRINT. Here, it needs to mention that a PRINT Window will pop up on your system. If you have been using Windows* XP users, then you need to go with the option of Print and then the print wizard starts. Click Next. The next thing you need to do is to click the arrow on the Printer Box and choose the Printer Box to select the printer you are supposed to use.
You would be noticing that the box along with a drop-down menu or a list allowing you to choose one option from several printer choices. If you do not find any drop-down menu then you need to choose the down arrow and follow the option using your cursor as per your choice. If you get to have a list displaying on your screen, then go with the option of printer that you want. You need to highlight your choice and then go ahead to click on it. There is no need to get confused since it is easy indeed.
The next thing you need to choose is to go with the layout of your document or image following the options available. Go with Windows XP users, you will have Wizard Window mentioned on the right side of the document or image you are supposed to print.
Do choose more than one copy supposed to print, do click the arrow to the number of copies you are supposed to have.
Then you need to click on Finish, or you may click on Print to get it done.
In The Last –
The entire procedure has been explained in a detailed manner. Hope it helped you to understand everything in a detailed manner regarding the use of Scanner Online.